Shortcuts
|
| BlaZeR2 Styling |
12/12/2001
|
| |
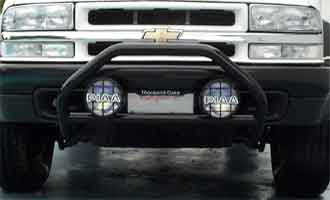
AUX FOG Lights
At the top you can see my PIAA 520 fog lights and the Westin Safari Light Bar setup. The lights are simply amazing! They
are very bright and have a wide beam pattern. The Westin light bar was very easy to install and took about 10 minutes. It
is probably the easiest accessory I have added to the BlaZeR2 ... well, maybe the floor mats were easier!
I am planning to add another set of driving lights
but at this time, I have not decided what to get or where to mount. I do have all the wiring ready though.
Video Observation System
Doing something like this has been one of my dream projects for a very long time! Fortunately, in the last few years, the necessary parts have
become cheap enough to make such a setup very affordable. The LCD screen has standard RCA-type video inputs
so it can be used with any VCR, game console, TV tuner, etc. (Hints for possible future addons !!!)
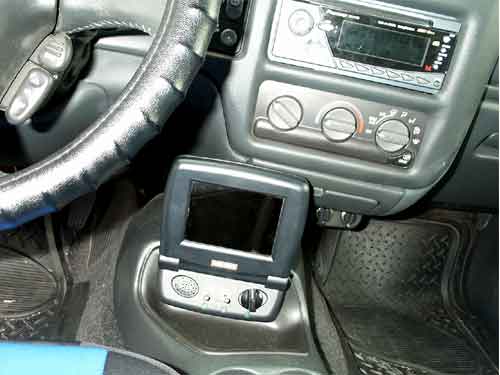
LCD
I mounted the LCD screen where the useless factory tape-deck
used to sit. I also modified the LCD case and added two AUX lighting switches and a rotary
switch to select the camera inputs. Green LEDs indicate which device is active at any time.
The cameras are made by X10 and can be operated directly using the 12V from the car battery. They
provide standard RCA-type video output and can be used with any standard LCD/TV that accepts RCA inputs.
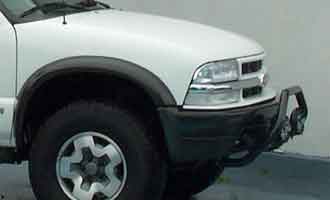
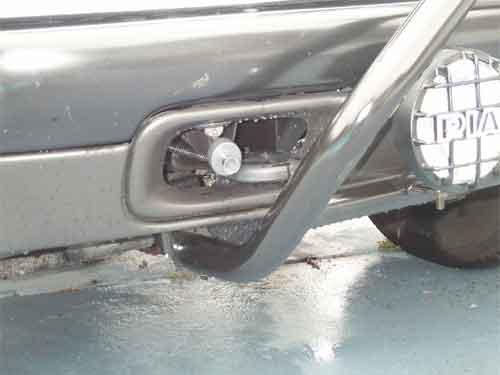
Front Camera
I mounted the front camera just above the right tow hook. This position provides a great view of
the blind spot in front of the passenger-side wheel, especially when going uphill and over obstacles.
Also, it is pretty cool to watch the road in the LCD while driving ... of course I would never do that
since it is very unsafe ;)
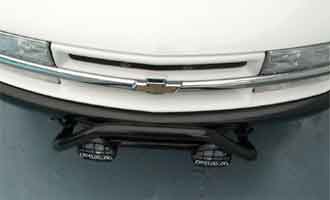
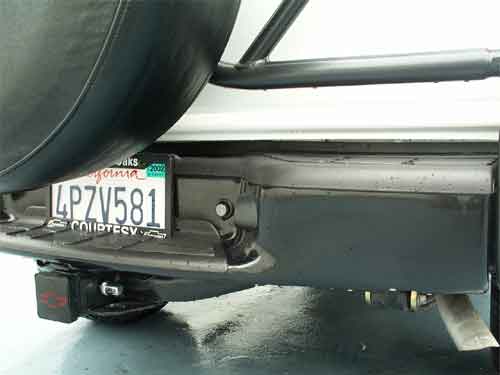
Rear Camera
The rear camera fit perfectly in the round hole to the right of the license plate which I
am told is used for lowering the spare tire on the pickups and 4-door blazers. Anyone who has ever sat in the driver's
seat of a BlaZeR2 will know how invaluable such a rear-view camera can be! With the large spare
tire and the head-rests of the rear seats in the up position (or if you have passengers) there is
almost 0 visibility through the rear windshield.
The only problem with the rear camera is getting used to having a mirrored image in the LCD display! Other than
that, it can be very useful.
You can also see my Chevy bow-tie 4-th brake light that I am very fond of.
|
|
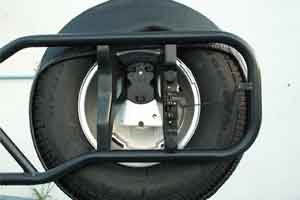
| Here are a couple of pictures of what I did to lower the spare-tire about 4 inches. I first made a template
of the bolt patterns using a piece of paper and then simply drilled the same pattern twice on a steel plate about
4 inches apart. Using the existing bolts and 3 new ones, the spare tire now sits much lower than before, improving
rear visibility tremendously. The automatic darkening side-view mirrors also function much better since the sensor
on the rear view mirror now has an unobtructed view of headlights following in the back.
|
 |
 |
|
|
 Personal
 Seapahn